Monday, March 23, 2015

"Journey To the Past"

Hello Fleekers!

How was your weekend?  Good I hope!  It was nice and sunny for me!


How is it going in your bullet journals?  I would love to see your bullet journals and the first few pages you came up with!  You can post it to my Facebook Page.

So.  Today we are going to talk about color coding.  Now I must admit I do not color code a whole lot in my bullet journal I have been using (and LOVING) since January.  But.  I was looking at a book I have that was turned into a smash book of sorts as well as some old Filofax and day planner pages.  These I can use to show you my evolution of color coding that I used including pens and stickers.  Since looking back at these I have been pondering on how I can incorporate this into my bullet journal.  I can see how already having my lay outs done is a bit frustrating and a lot of people go day by day.  So I think in future bullet journals I am going to take it week by week.

So.  Let us get into the pictures shall we?  Yay!  *insert screaming and crying like when you see Hugh Jackman or Chris Hemsworth walk by....OK may be not.  At least a smile and American Sign Language applauding sign?  OK.  Done with the dry humor....may be....*

Alright.  So here is a picture of the notebook that I used:


Here are some post its that I used.  


This is a monthly spread from my Filofax.  The inserts were from Day Timer.  As far as color coding, I used the following colors:
Orange: appointments (anything...friends, family, doctors etc)
Purple: Church
Green:Pay days
Red:Goals (exercise times etc)
Blue:Holidays and Vaca


Can you see little colored dots on my pages?  Well, for the month view I used those to help important things to stand out.  


Some more sticky notes.  On the phone one I tried to color code my tasks.  But that got to be a bit too much.  
On the white one I split it into goals, quick errands and things I needed to by, things I needed to clean etc.  This worked out really well.  I used this for several months.


These are my weekly pages from Filofax.
I got this layout inspiration from Enjoyette on YouTube.  She has AMAZING set ups in her Filofax.  Some of it is too much for me but I did implement some of her weekly lay out.  
As far as color code she would put in color the action such as a buy: clean: call: etc.

Then she would put in black the task that would need to be done.  Such as 
Buy:a golf club

Now.  You may be seeing little colored dots occasionally on the weekly spread.  These are dots called Mark It dots.  I learned about these again from Enjoyette and got mine on Amazo . 
These are to mark the most important tasks that need to be done.


As far as appointment times?  Again from Enjoyette I wrote down in black the times then in () the color code to what the event was.  Such as work was just left black like so:
10-6
 or if I had a Doctor appointment that would be in Orange:
(3:30-)

                               And so on...

As you can see I tried using the Martha Stewart Dew Drops as weekly tasks.  But they just don't seem to work for me now.  Even in my bullet journal I am trying to use them but they just don't seem to be sticking.  Ha ha ha ha.  Get it?  Sticking?  Hahahahahah.....a.....

Eh hem.

So there you have it.  A "Journey To the Past. . (Does anyone know this movie reference?)
That is how I have color coded in the past and is worked REALLY well for me.  I loved it!  I just need to figure out how to work it in my bullet journal.  

So.  Do you know what time it is?  No not Tool Time.  It's homework time!  Yay!

For this post I would like you to start using your color coding.  You can use it in any way you like.  Just try it for a week!  If you don't like it change it!  Just TRY.  And remember there is no wrong way.  It's what works for you!  

Thanks for reading!!!  

Happy Fleeking!!


Saturday, March 21, 2015

What do I Need To Start?

Hello Fleekers!

How is your weekend going?  Good I hope.  How did the washi tape go?  I want to see your projects and pages!  Post them to my Facebook Page here: Life of A Fleek Facebook Page
Plus it will inspire others!!


So.  I have been seeing a few questions about what you need for starting in the bullet journal.  Really there are only three things you need.

A notebook/journal of any kind:

Photo credit SG
Photo Credit TE
Photo credit AP


Photo credit WR


A pen or pens:

This is a simple BIC four color chart pen I got from my work.  I have also seen them at Target and Staples.


And the will to try, experiment and have fun!

The Bullet Journal can be as simple as you want or as complicated as you want.  It doesn't matter as long as it makes you happy and works for you.

So you can go out and get yourself a notebook of some kind.  And a pen.  There ya go!

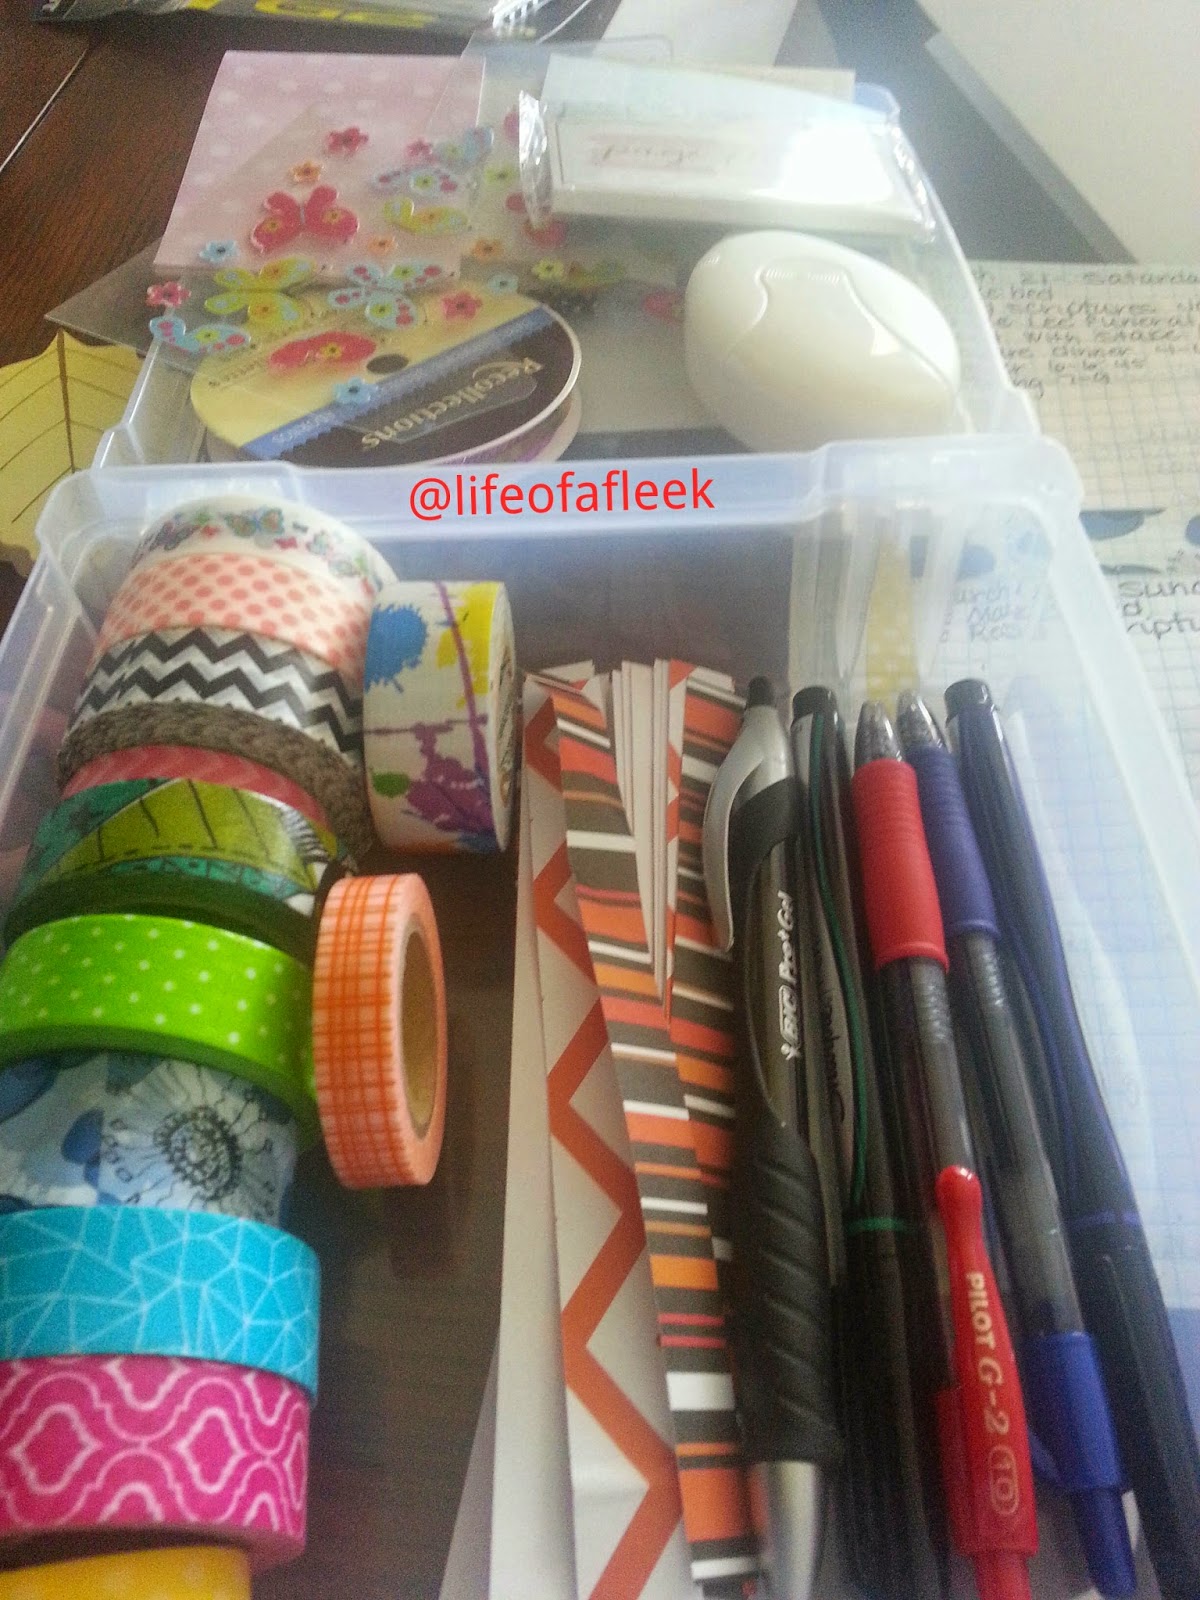
That's it.  As far as other things to decorate your planner and personalize it (for a more detailed look see post here) there is always washi tape:


Photo credit WR


There are sticky notes:


And last but certainly not least stickers:


Now the last few items are optional.

But the first three items a notebook/journal, pen/s and the will to try are the most important items you need to get started.

What should be your first page?  Well.  That is entirely up to you.  In the traditional video from Ryder he suggests an index and then the monthly calander lay out.  You can do this any way you wish.  For more in how I used calanders see my blog post here.

Then where you go after that is entirely up to you.  You can completely fill up your journal as I have:


Or you can just do it day by day.  Month by month.  Note by note.

Photo Credit SG


Yes there is an original and traditional way of how Ryder came up with this technique of bullet journaling but you can take it what ever direction you want to go with it.

Homework time!

If you are new to bullet journaling or even returning to the idea I would like you to just start.  Think of something you would like to track or start with the month of April.  Start with today.  Start with anything.  You don't have to be fancy.  Just make one page.  One page that will be benifitial to you.
I would love to see pictures!  Please share if you care to.  ðŸ˜Š

That's it!  Good luck!

Stay tuned for next post on Monday we will be talking about pens and color coding!

If you have any requests let me know on Facebook or email me: lifeofafleek@yahoo.com

Disclaimer:
This is a simple post hoping to help inspire those beginning the bullet journal journey.  I do not profess to be a professional.  Also many of the photos were borrowed from generous people on FB, IG, family and friends.  They are noted as "Photo Credit".  I am in no way taking credit for their photos or trying to steal them. They were generously "given" to help this blog.  Full photo credit is given to them as noted.  They were fully aware of the photos being watermarked and used in this blog for no personal gain of mine.  I give full and complete photo credit to those who donated their photos and I am very grateful for their help!!

Happy Fleeking!


Friday, March 20, 2015

Friday Fleeker Feature!!

Hello Fleekers!

I am so glad to introduce a new friend on my Friday Feature!  This is Cori from http://talesfromapolkcountygirl.com

She has some great ideas on planners and home  management.  I've poked around her cite a bit and it was very informative!  Go check it out!


1. What kind of planner do you use?

I am currently experimenting with bullet journaling, and have been using it for exactly one week. So far I'm enjoying it. This will be my third journal go 'round this year (I know!). I started 2015 with a Franklin Covey Sierra ring bound planner with Blooms vertical column inserts. It was beautiful, but the one thing I really wanted was the ability to bend my planner back like a spiral notebook. I then moved to creating my own inserts and putting them in Mead Flex binder, which I was really enjoying using except for the size. The Flex binder is a full size binder and doesn't fit in my purse. 

2. Have you always used planners and what got you using them?

My first memory of having a planner was first grade when my mom gave me her old one and I wrote "I <3 JTT" all over it! (JTT = Jonathan Taylor Thomas for those who weren't a part of that craze.) The private school I went to encouraged us to have Assignment books to write our homework in. These were very simple "planner" of the undated variety. In middle school, we were no longer required to use them, but I still asked my mom to get me one. In high school, I graduated to a simple At A Glance planner from Walmart. I used these throughout high school and most of college. When I got a full time job, I decided I needed to upgrade to something more professional. With the go big or go home mindset, I got a Desk size DayTimer Avalon, 7 ring. I used it for about a year, but those 7 rings were a hindrance. Also the size was a mistake. So I downsized to a Franklin Covey Sierra Classic size (5.5x8.5). LOVED IT! Until my desire for being able to bend it back like a spiral notebook became to great.  

3. Do you use accessories for your planner? If so what do you use?

Yes, I do use accessories, stickers and washi tape mainly. I like using them in the diary section and write around them. I do use different color pens, but I don't consider that an accessory. The pens I use are Sharpie No Bleed pens. 

4. Would you be willing to try out other planners or are you satisfied with your planner?  How often do you change planners?

Ha Ha I believe my first two answers will answer this question. I'm really enjoying the bullet journal process right now, especially since my set up is a bullet journal/diary combo. I plan on carrying this on. Wish me luck! I am getting tired of hoping around. The quest to find Planner Peace is a long one with a lot of trial and error. 

5. How do you organize your planner?  In other words would you be willing to explain your system?

I'm going to answer this question with how I've set up my bullet journal. I started it as an experiment so it is in my current diary. (Also, I don't care for graph paper, so my bullet journal is one lined paper.)
1. Monthly chart: mine spans two pages, and the extra space is where I write upcoming events in the next month and reminders for month (like buying birthday presents).
2. Weekly slips: I bought one of those magnetic calendars with the tear off sheets at Walmart. It is The Big Bang Theory themed. These are glued in and double as decoration.
3. Daily charts: I created these little charts where I can check off daily things like exercising. These are also glued in. 
4. After the calendars, come my categorized To Do lists: Personal, Crafts by Cori (side business), Writing/Blog, YouTube Channel, House list. Each list is assigned 1-2 pages. 
5. After all of these, are my diary pages. And since I do one month at a time, I'm not limited on how many diary pages I need. 

Because this set up was started in the middle of a diary, it will change when I start a new diary. I'm thinking about putting the To Do lists at the very beginning and giving them about 5-6 pages each to last the entire length of usage. I'm halfway through my current diary, so I have some time to thing about this. 

6. Any advice on using planners or finding the right one?

Take a few minutes and write out what you're really looking for in a planner. What are you going to organize? How to you want to organize? Are there any format functions that the planner MUST have (zipper closure, multiple pen loops, ability to add and take stuff out at will, bend back like a spiral)? How much are you will to spend? Are you happy to spend money on what's already out there or is nothing speaking to you and you need to make up your own combination. 

~Cori 

Thank you Cori for joining us today!  

If you would like to be featured please email me at lifeofafleek@yahoo.com

Happy Fleeking!